DingTalk
All you need is a Client ID and Client Secret to connect your DingTalk bot to nexu.
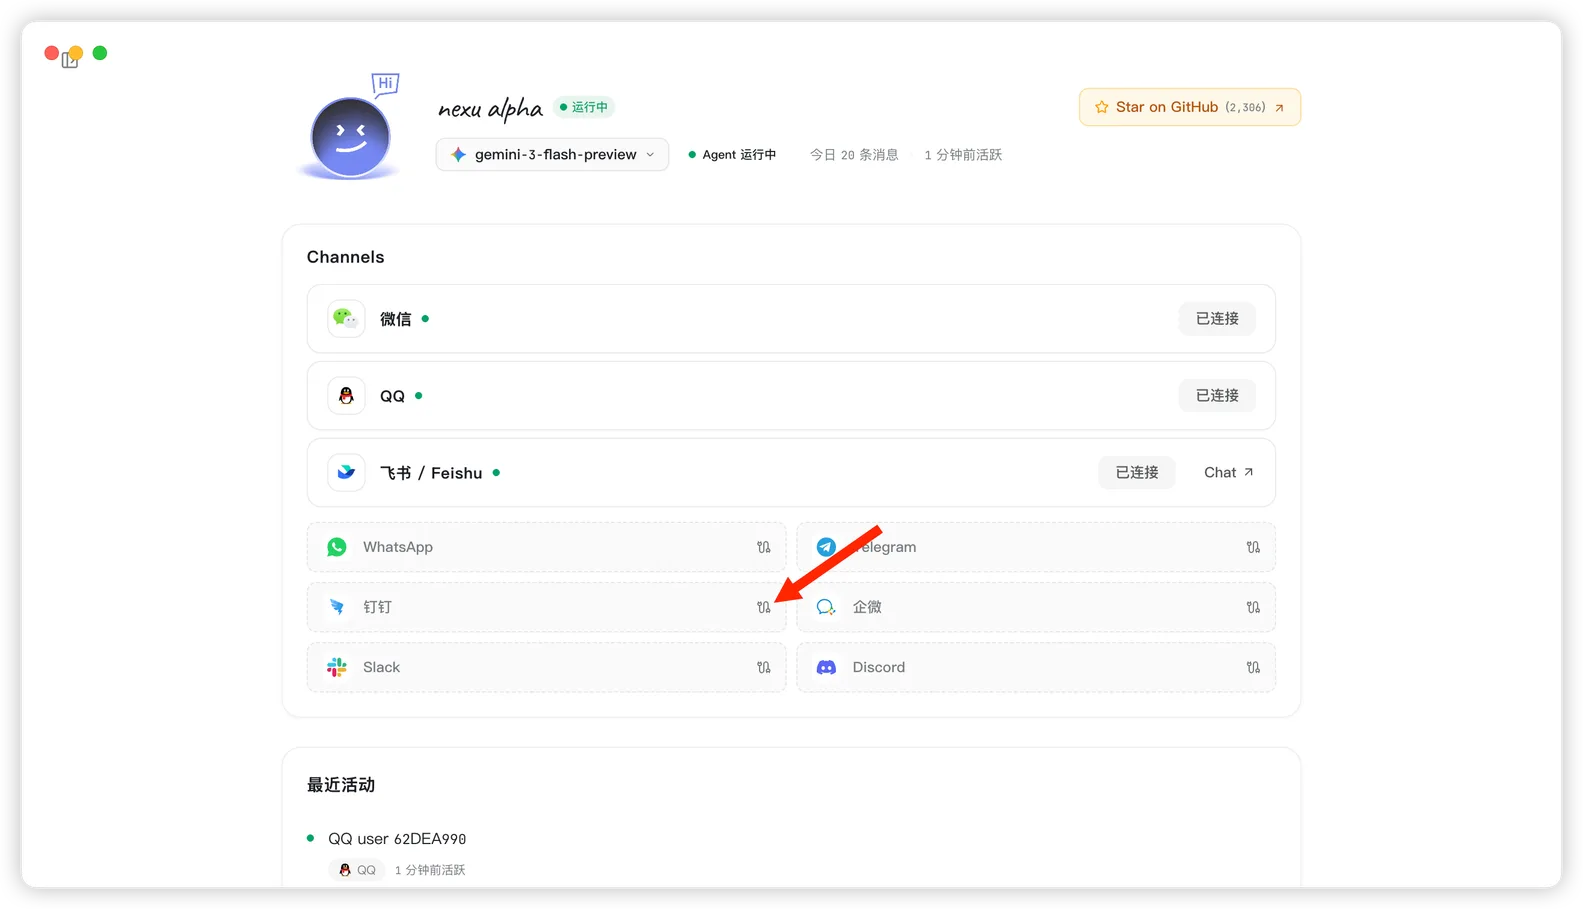
Step 1: Open the DingTalk channel in nexu
- Open the nexu client and click DingTalk in the Channels section.
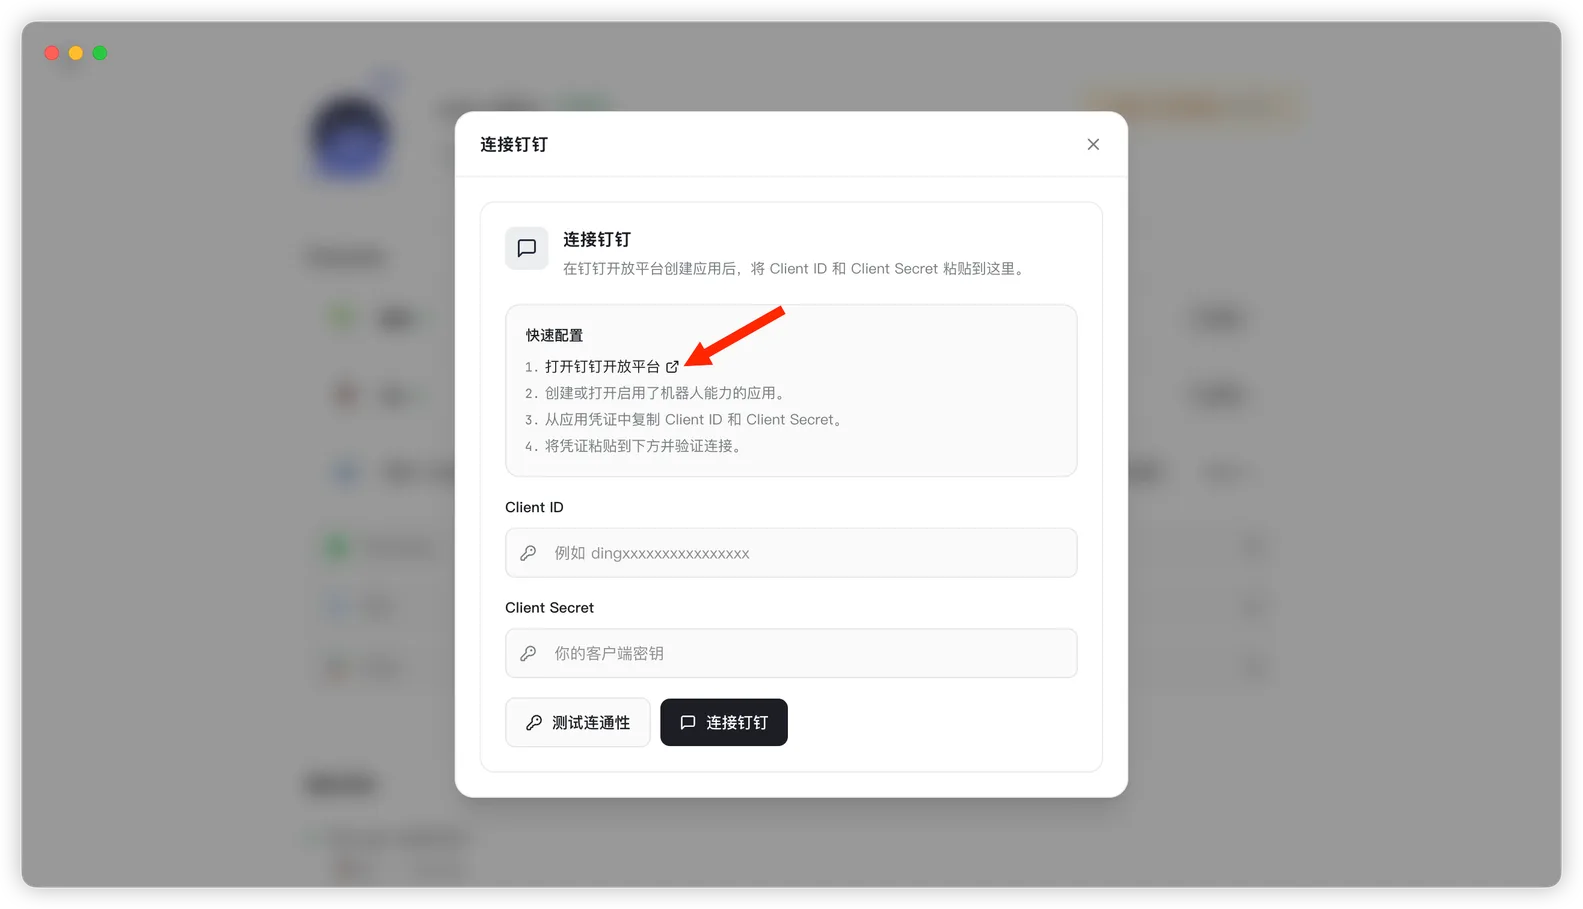
- Open the DingTalk developer platform: https://open.dingtalk.com/
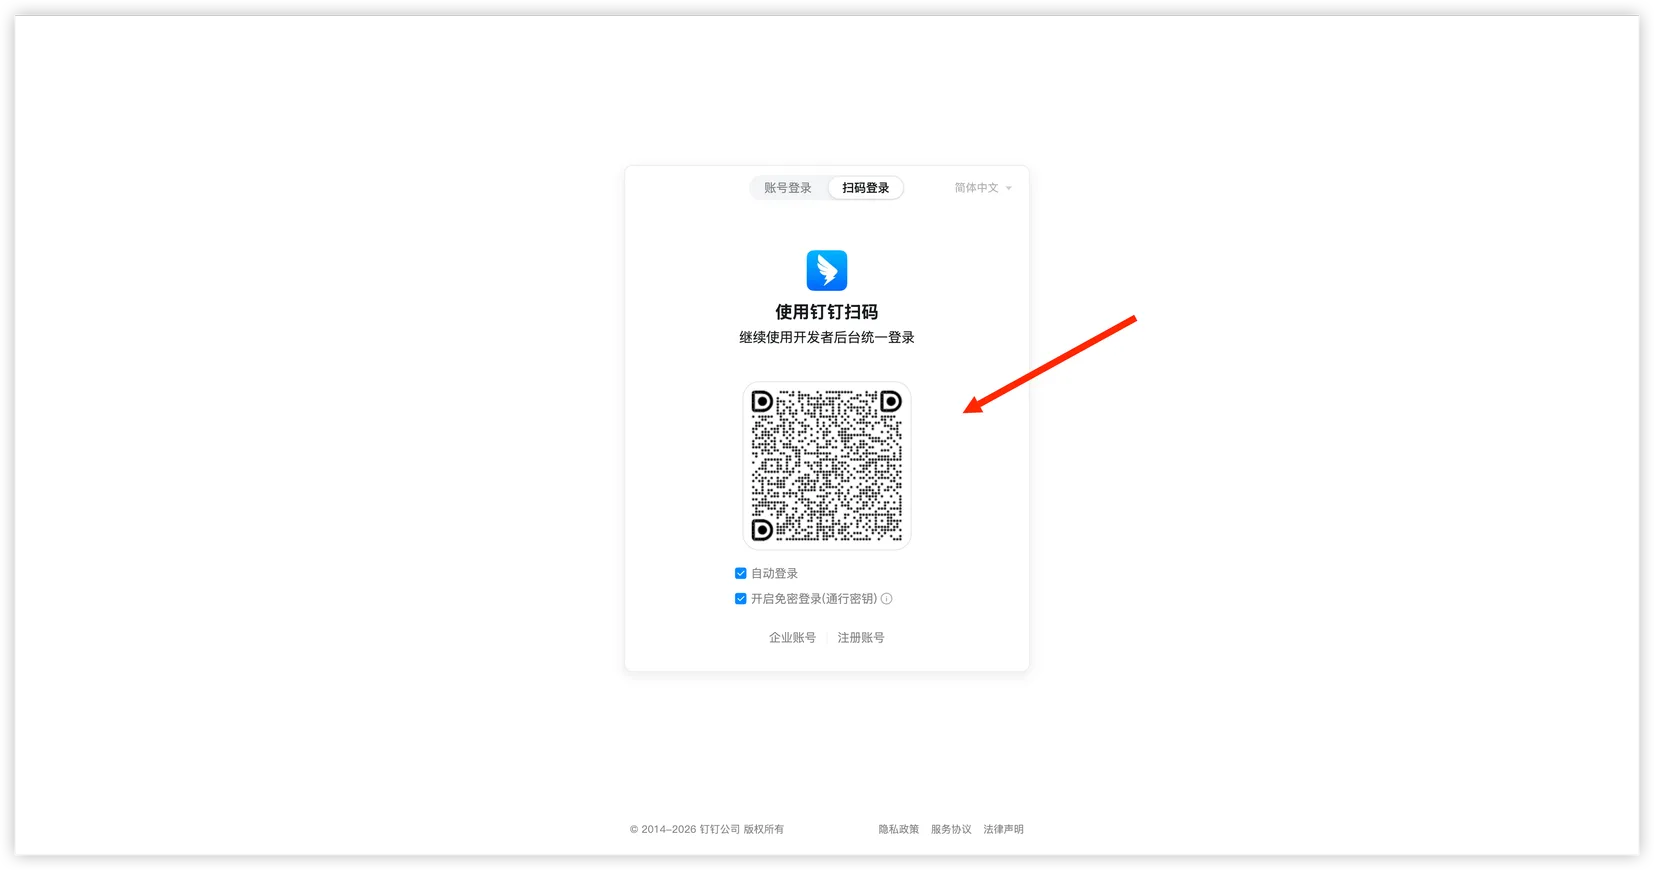
Step 2: Sign in to the DingTalk developer platform
- Use the DingTalk app to scan the login QR code.
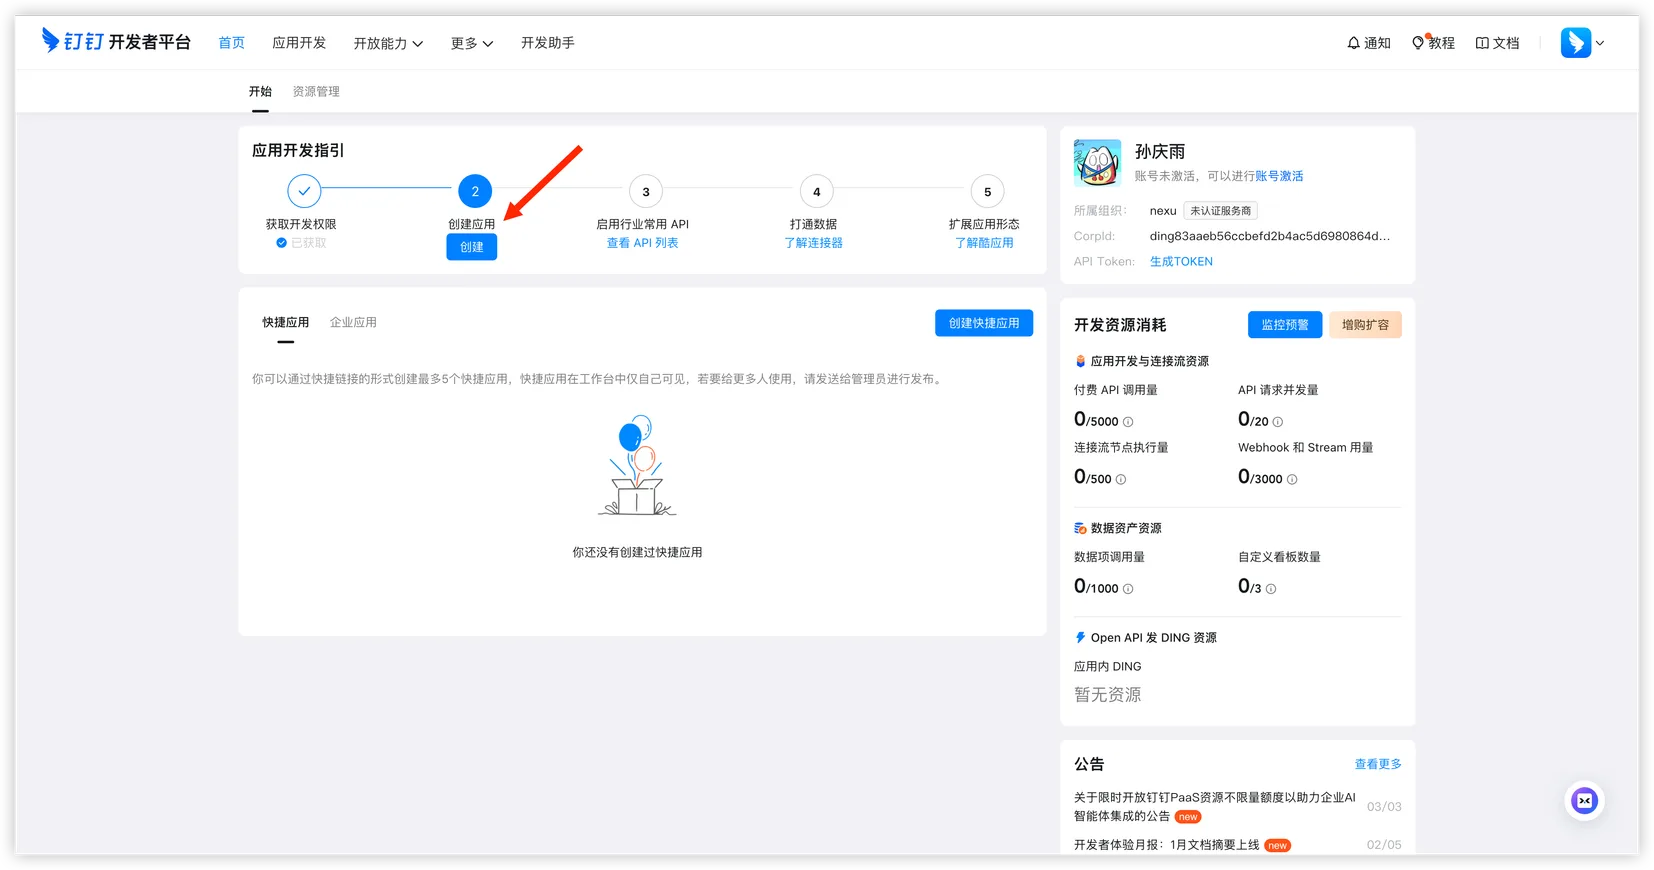
Step 3: Create a DingTalk app
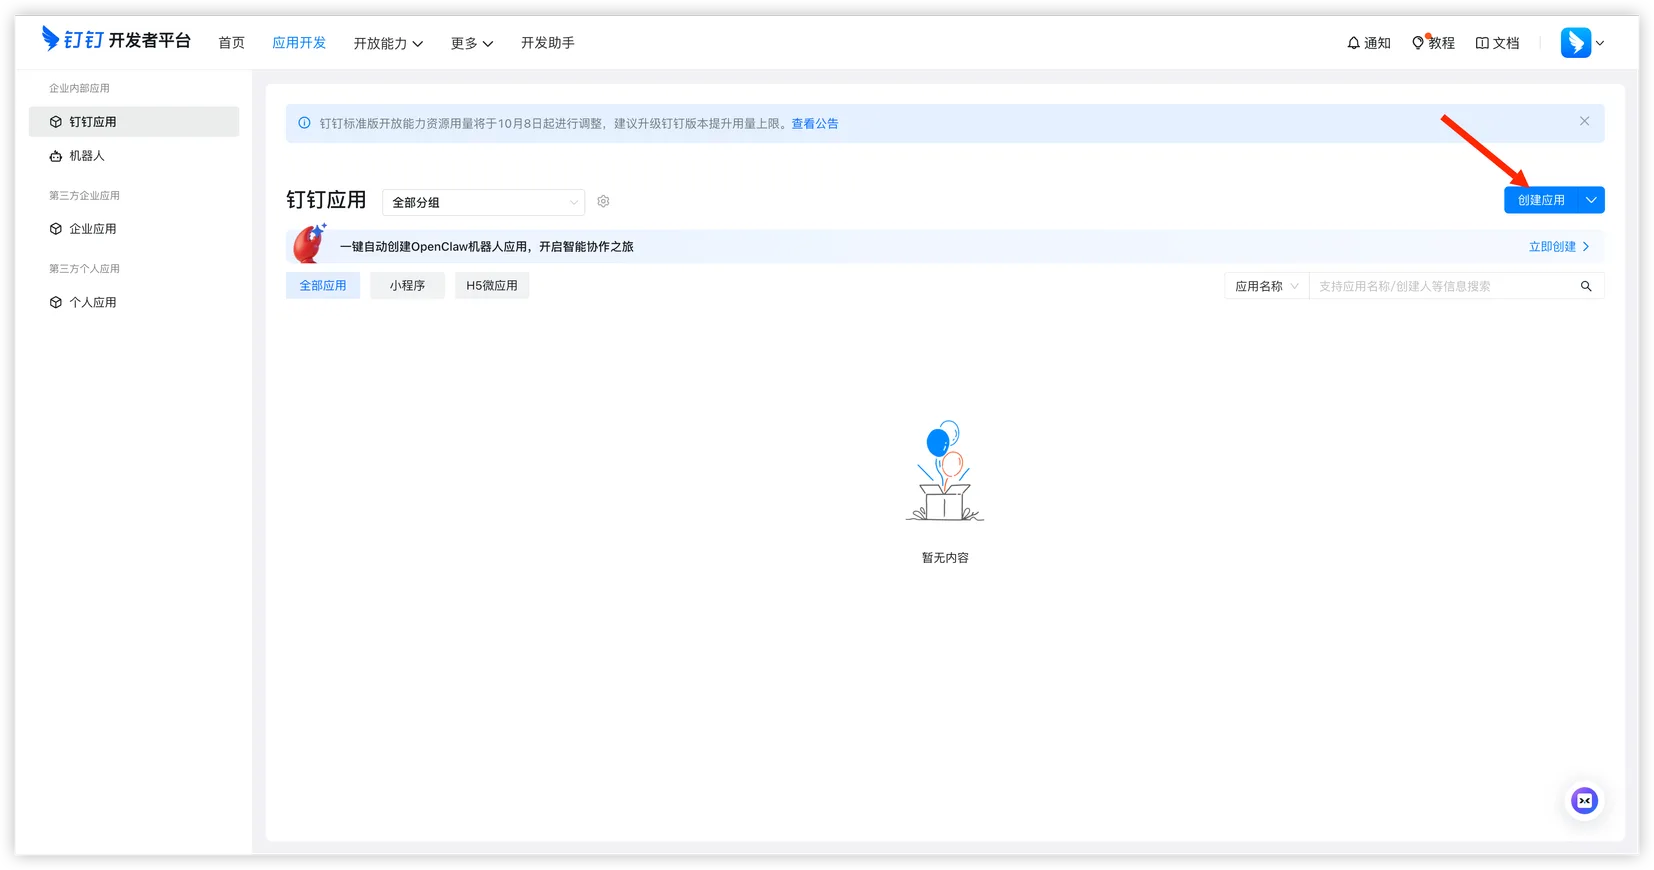
- After signing in, go to the app development guide page and click "Create App".
- On the app development page, click "Create App" in the upper-right corner.
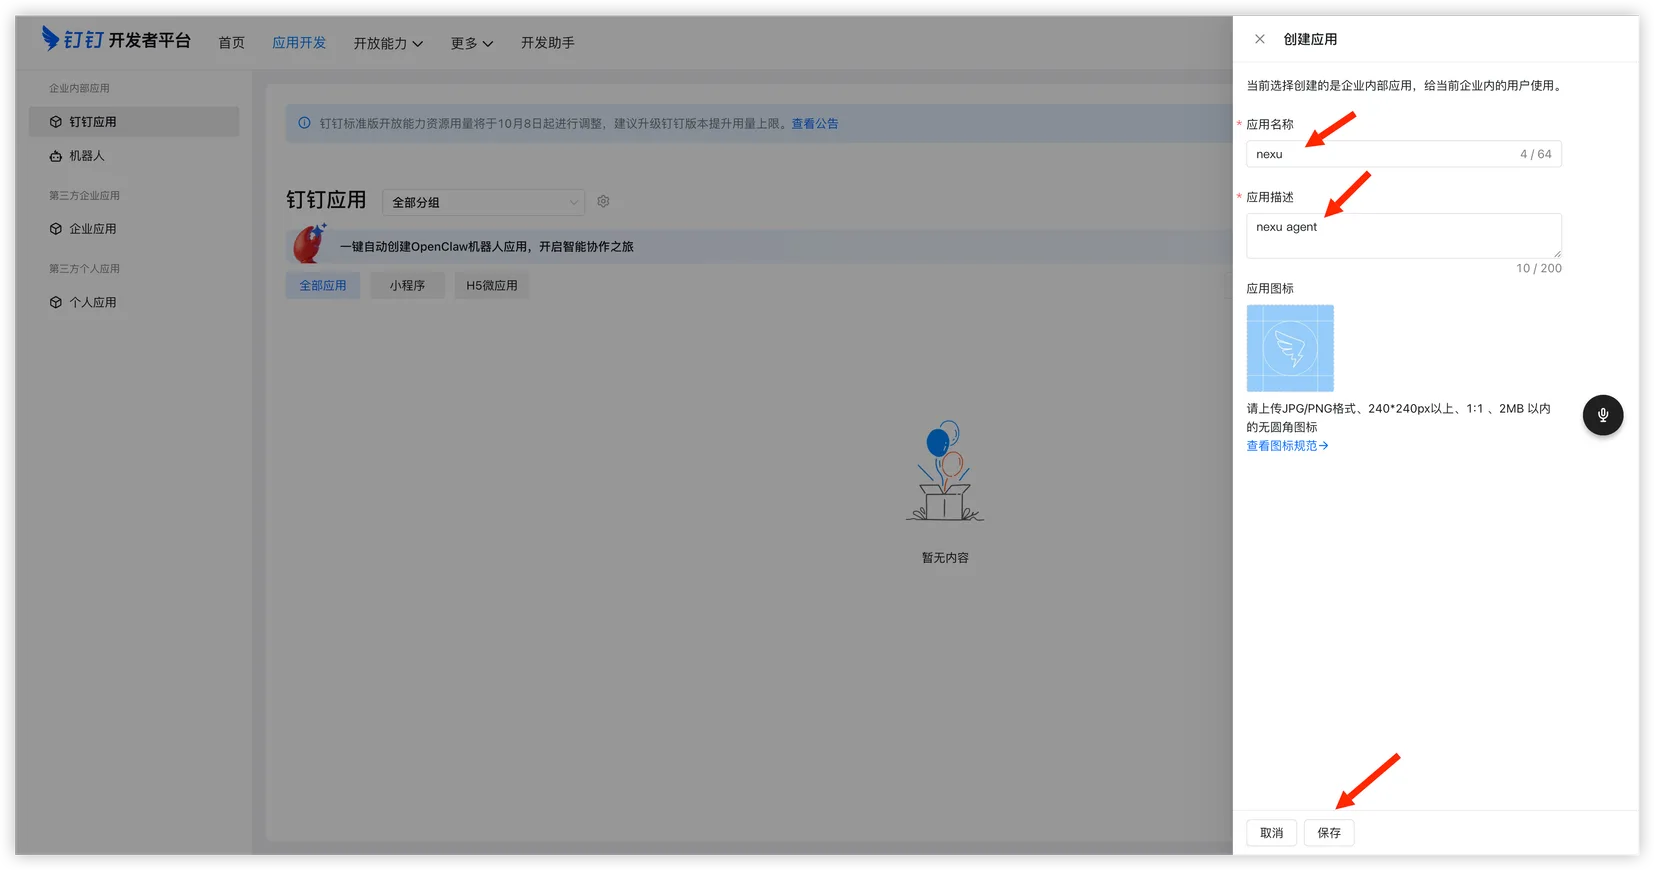
- Fill in the app name, description, and icon, then click "Save".
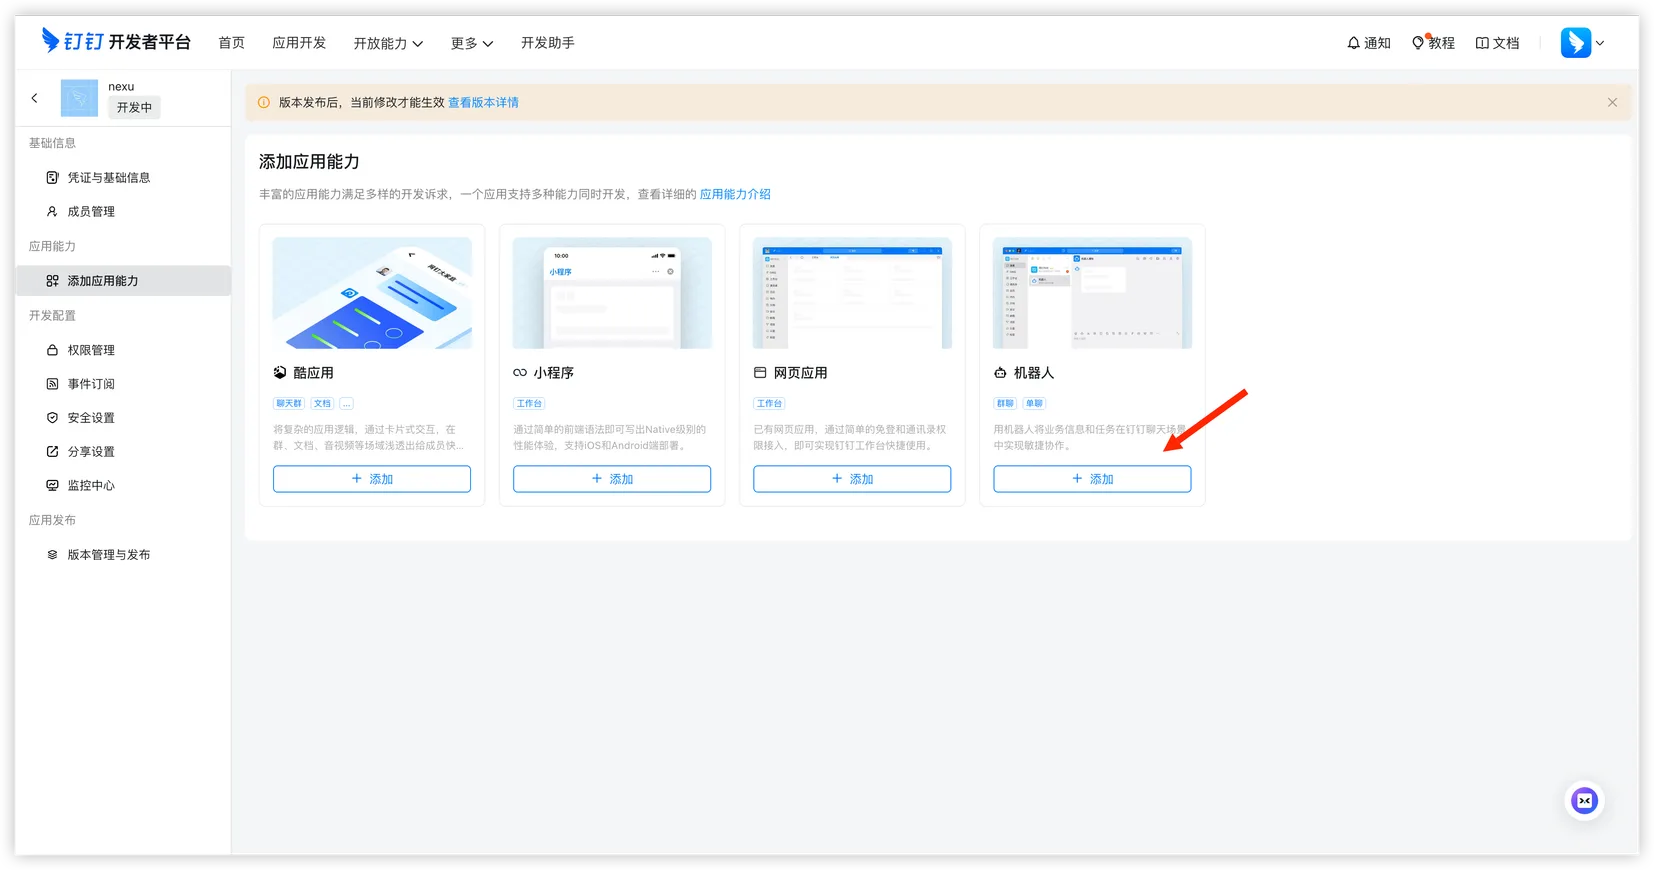
Step 4: Add bot capability to the app
- Open the app details page, go to "Add App Capability", and click "Add" on the Bot card.
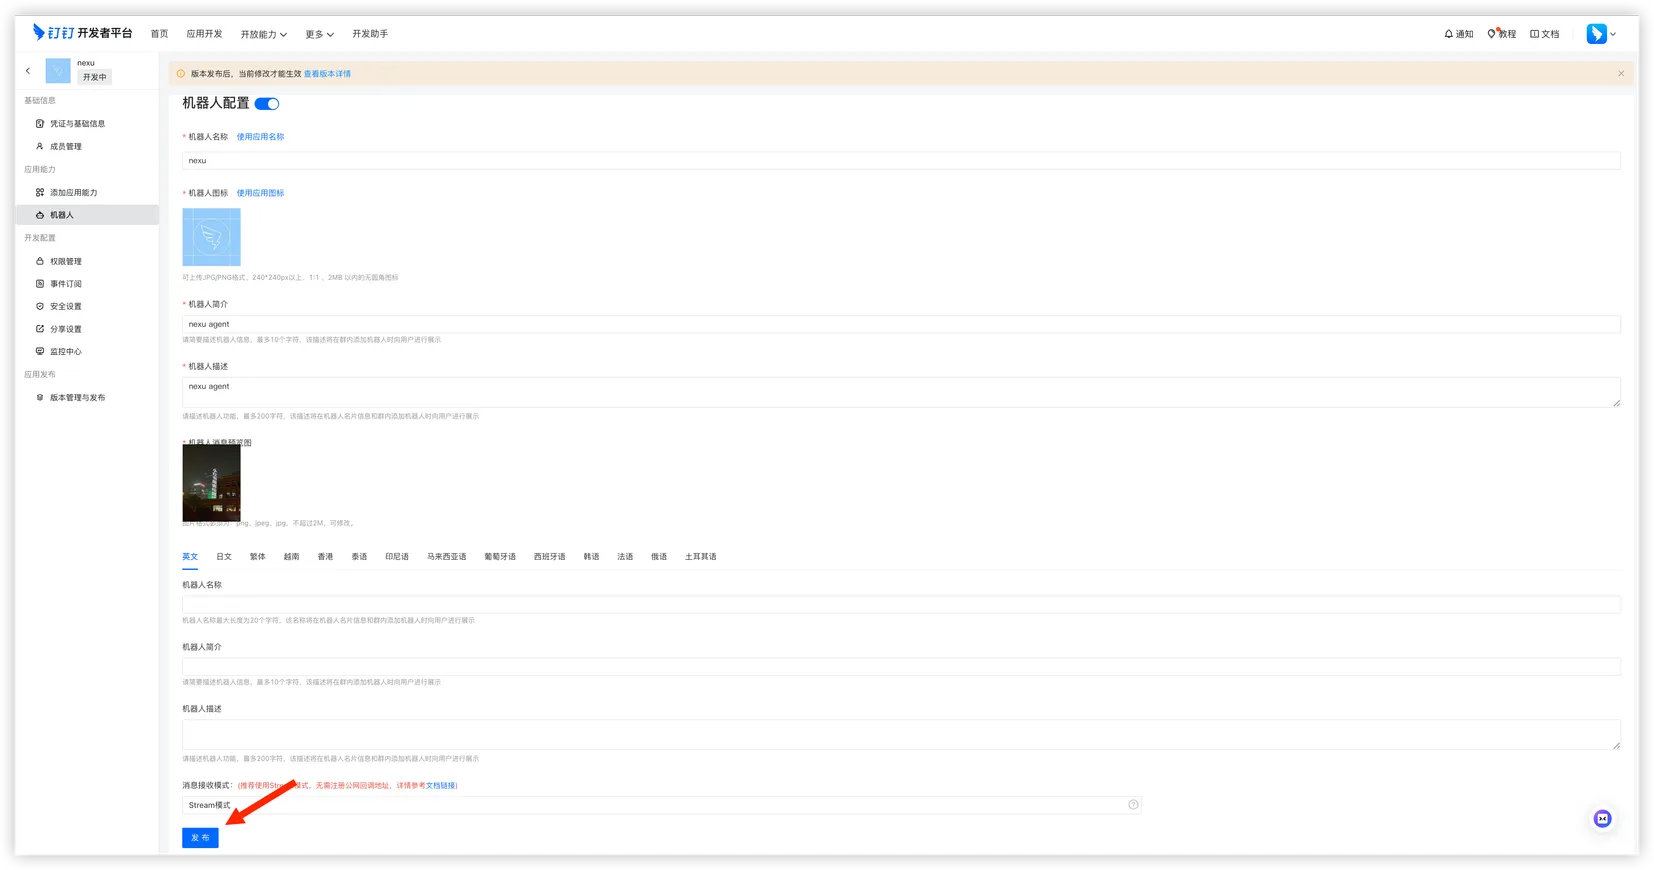
- Open the "Bot" page on the left and turn on bot configuration.
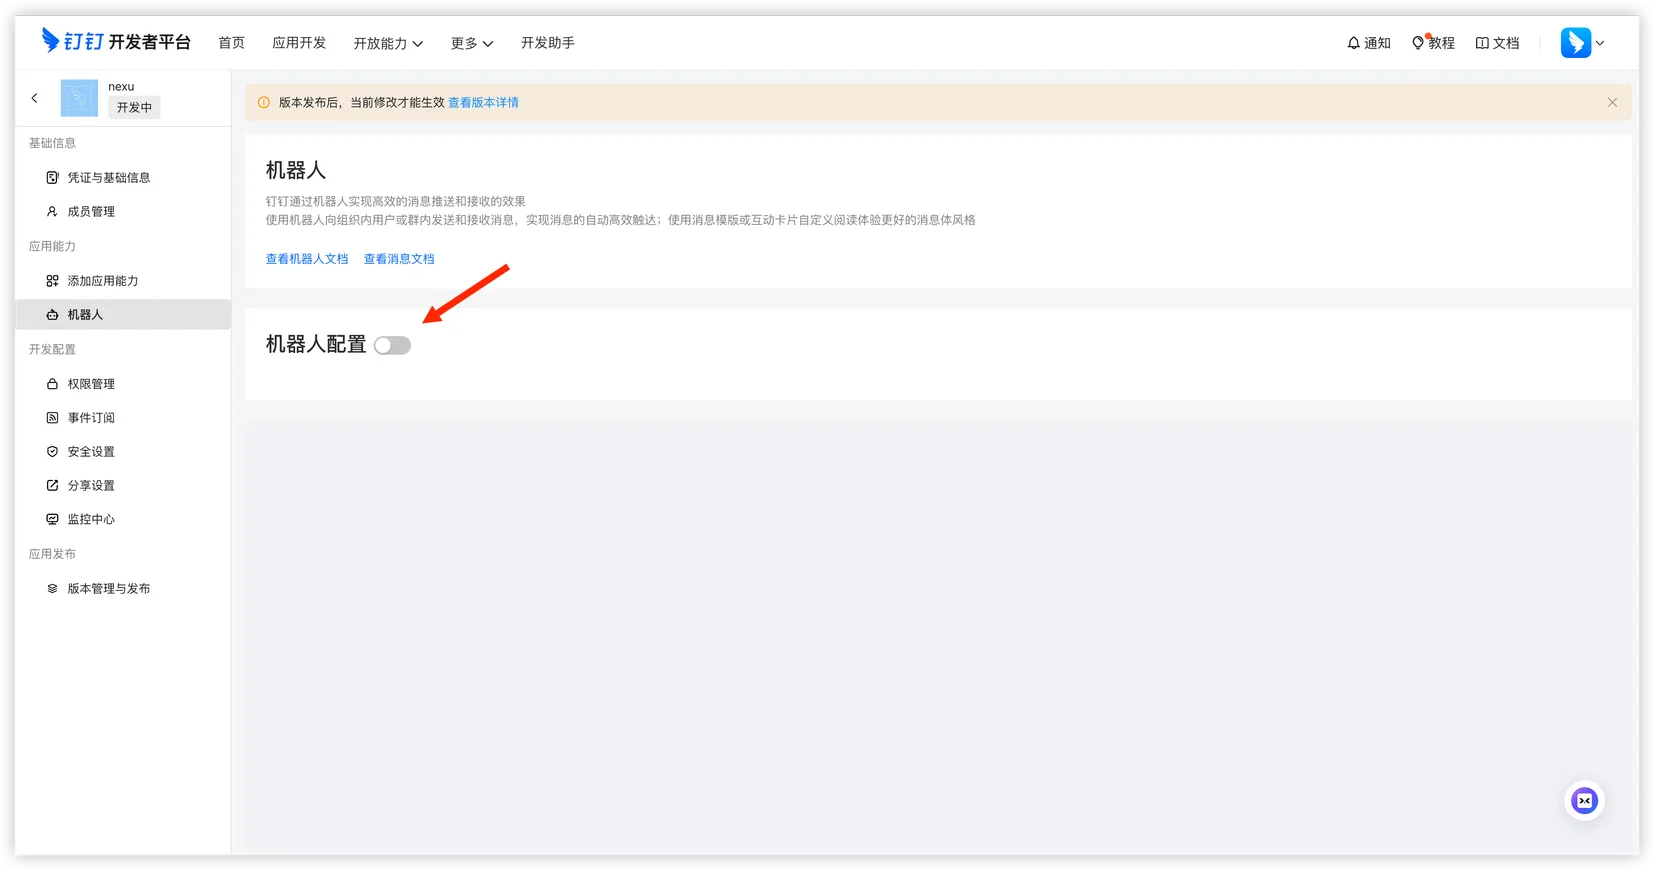
- Complete the bot name, profile, avatar, language settings, and receive mode, then click "Publish" at the bottom.
Step 5: Grant the required permissions
Open "Permission Management" on the left and apply for the permissions nexu needs.
For a smoother AI chat experience, we recommend enabling these AI Card permissions:
- Card.Instance.Write - AI Card write permission
- Card.Streaming.Write - AI Card streaming output permission
Tips:
- With AI Card enabled, replies appear progressively like ChatGPT
- Without it, the bot still works, but replies are sent as normal text messages
The screenshot below shows the page for enabling Card.Instance.Write.

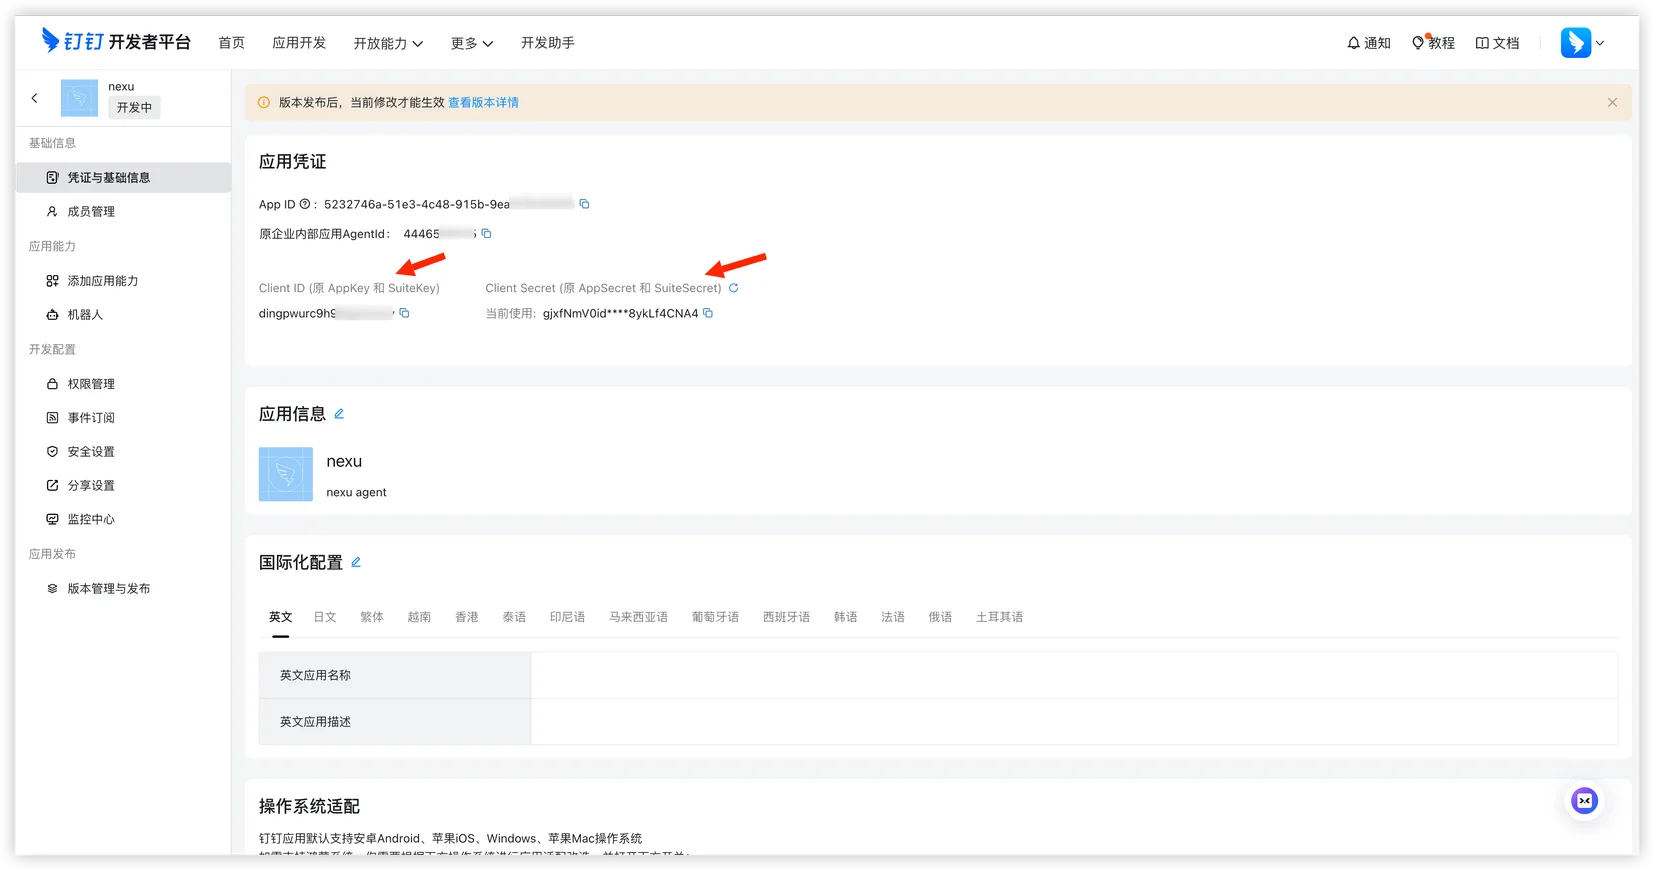
Step 6: Copy the Client ID and Client Secret
Go back to the credentials page and copy these two values:
- Client ID
- Client Secret
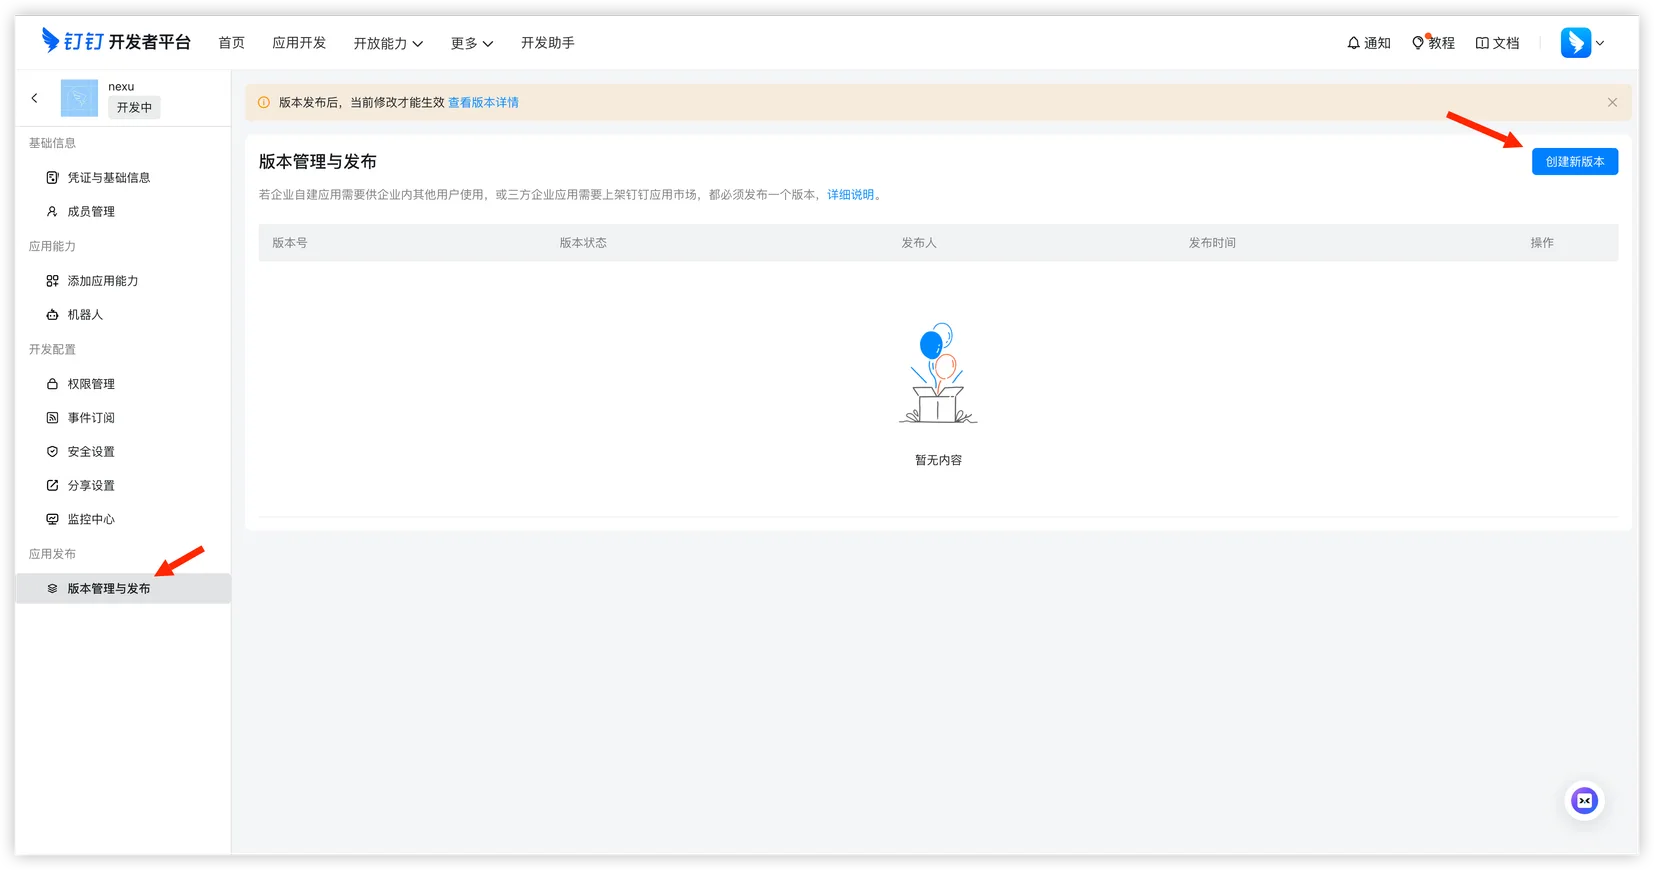
Step 7: Create and publish a version
- Open "Version Management & Release" on the left, then click "Create New Version" in the empty version list.
- Fill in the version number, release notes, and visibility scope, then save.
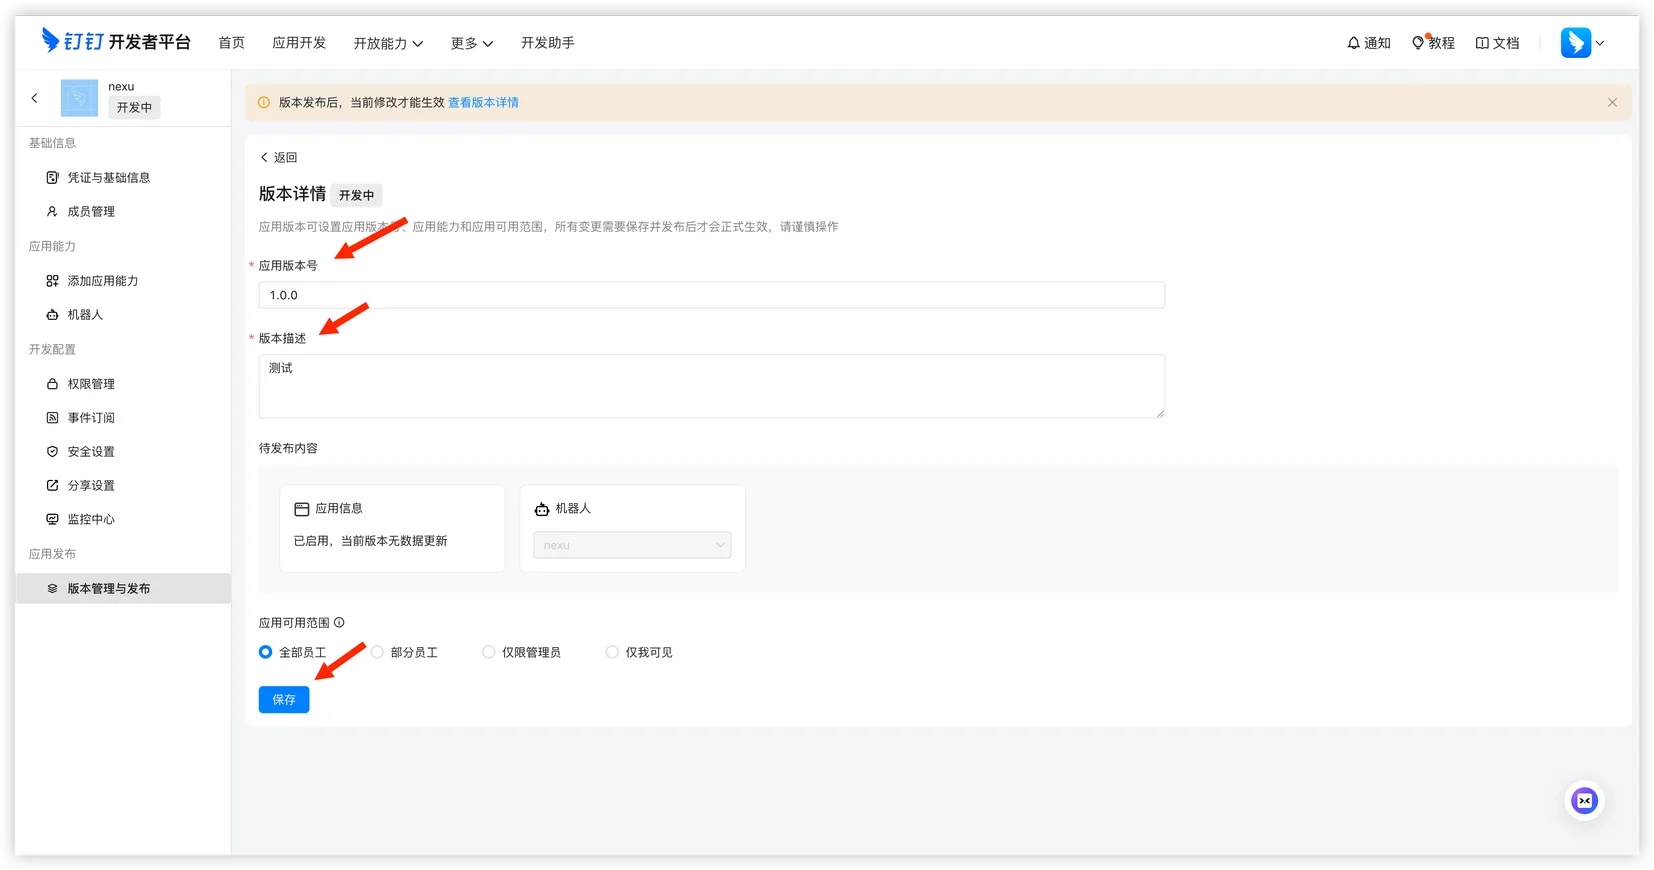
- Complete the DingTalk publishing flow so the bot can go live.
Step 8: Connect DingTalk in nexu
- Paste the Client ID and Client Secret into the DingTalk channel dialog in nexu, then click "Connect DingTalk".
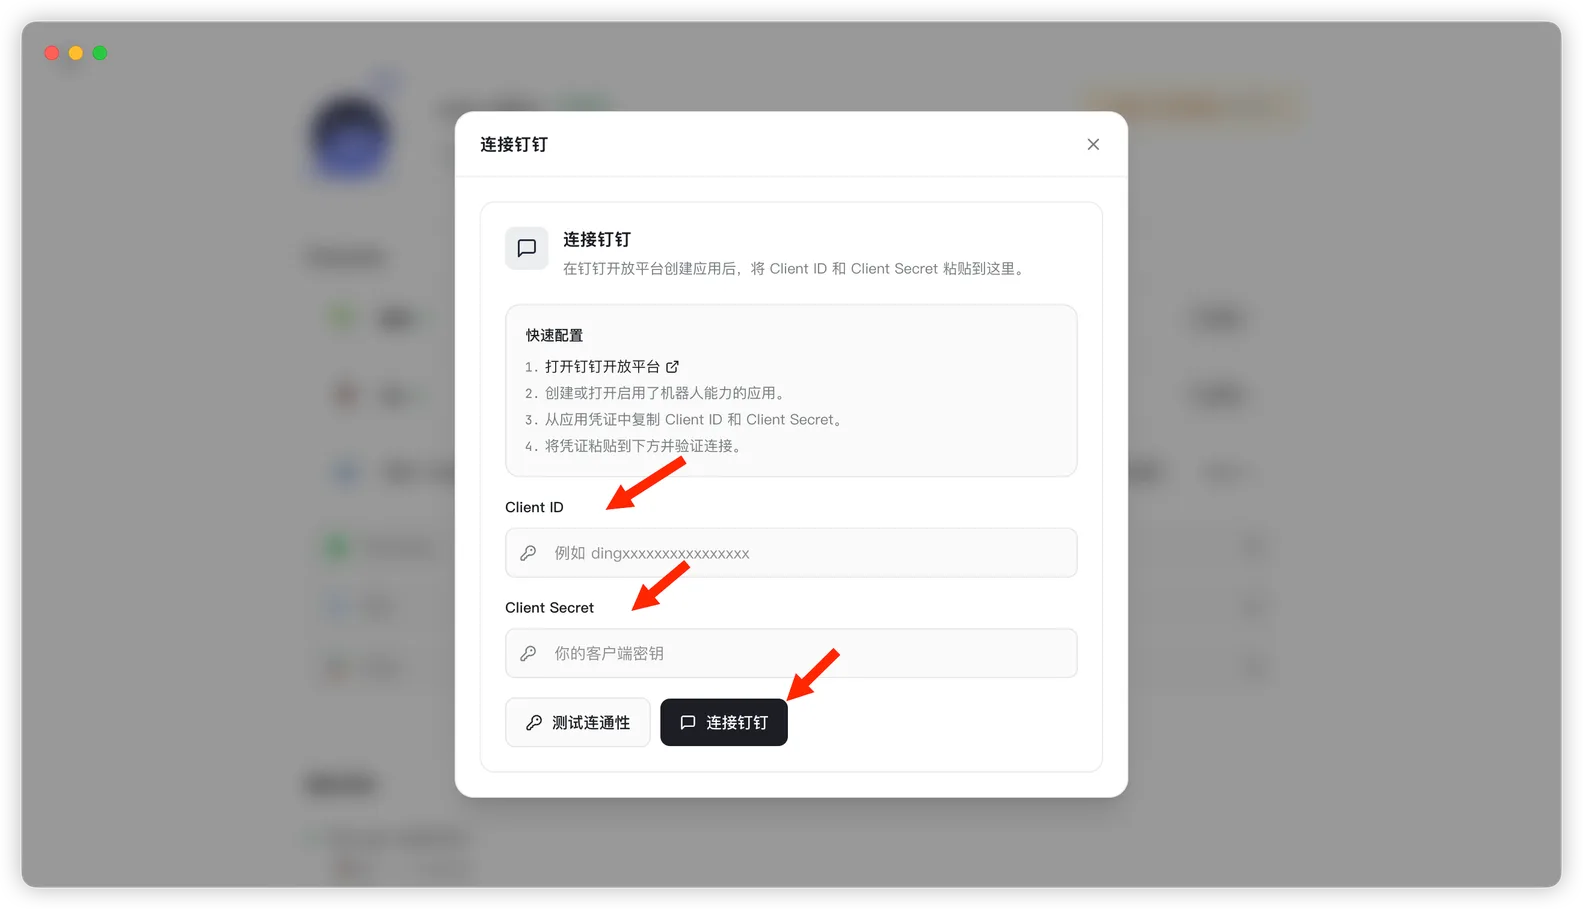
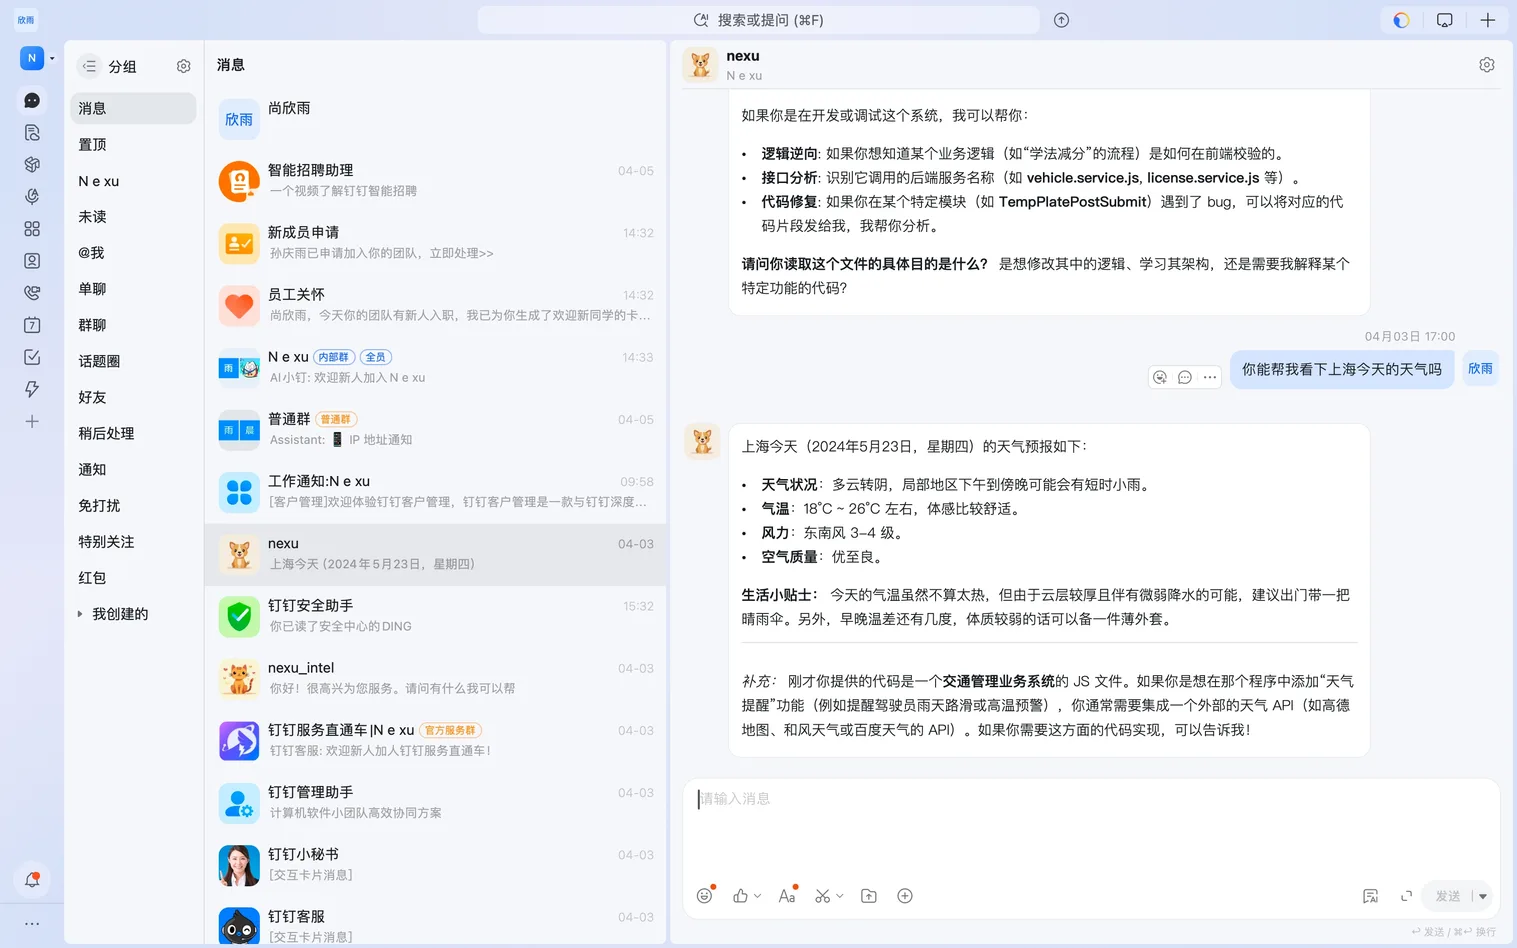
- Once connected, open DingTalk and start chatting with the bot.
FAQ
Q: Why isn't it enough to only create the app?
A DingTalk bot usually also needs bot capability enabled, permissions granted, and a published version. Missing any of these can stop the bot from working.
Q: Do I need a public server?
No. With nexu's current DingTalk integration, you usually do not need to host your own public callback service.
Q: Why can't my teammates see the app after publishing?
Check the visibility scope you configured during version publishing and make sure the correct users or departments are included.
Q: Why is the bot not replying?
Check the Client ID and Client Secret first, then confirm the bot capability is enabled, permissions are granted, the version is published, and the nexu client is still running.